This will guide you through every step to set up and launch your store with ease.
Watch the video tutorial here.
- Go to the Store Manager Web App.
- Choose your method to sign in:
- Gmail
- Phone number
- Email address
- Gmail
- If you’re signing in for the first time as a merchant, you’ll be automatically redirected to the Onboarding Setup screen.
- This is where your Hustle (store) begins.
Complete the Onboarding Setup Steps
You will be guided through five essential steps to get your store up and running:
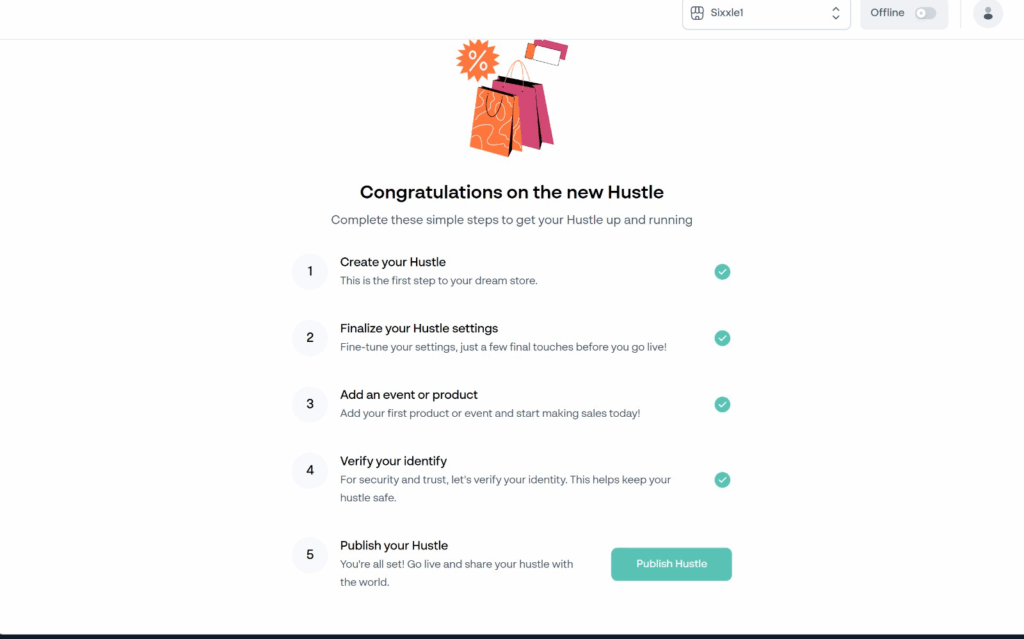
1. Create Your Hustle
- Give your store a unique name and identity on the platform.
2. Set Up Store Information
- Fill out important store details:
- Store name
- Description
- Category
- Contact information
- Store name
3. Create Your First Product
- Add at least one product:
- Product name
- Description
- Price
- Inventory (if applicable)
- Product name
4. Verify Your Account
- Submit the required verification details (e.g., contact information, I.D and payment information ) to enable live selling.
5. Publish Your Hustle
- Finalize setup and publish your store to go live on the platform.
- If you signed up but didn’t finish onboarding, you’ll be redirected back to the Onboarding Setup screen when you sign in again.
On this screen: - Completed steps will show green checkmarks.
- Pending steps will show “Continue” or “Complete” buttons.
You can pick up right where you left off — no need to start over.
Select Hustle (After Completing Onboarding)
- Once all onboarding steps are complete:
- You’ll be prompted to select your Hustle (store) if you have more than one.
- You’ll then be taken to the Home Dashboard to start managing your store.
- You’ll be prompted to select your Hustle (store) if you have more than one.